In this article you will find guidelines on how to mount a camera on two common Hellenic (Greek) Fire Service helmets.
Contents
Video sample
The following video is from a CFBT (Compartment Fire Behavior Training) session at Athens Fire Station 6.
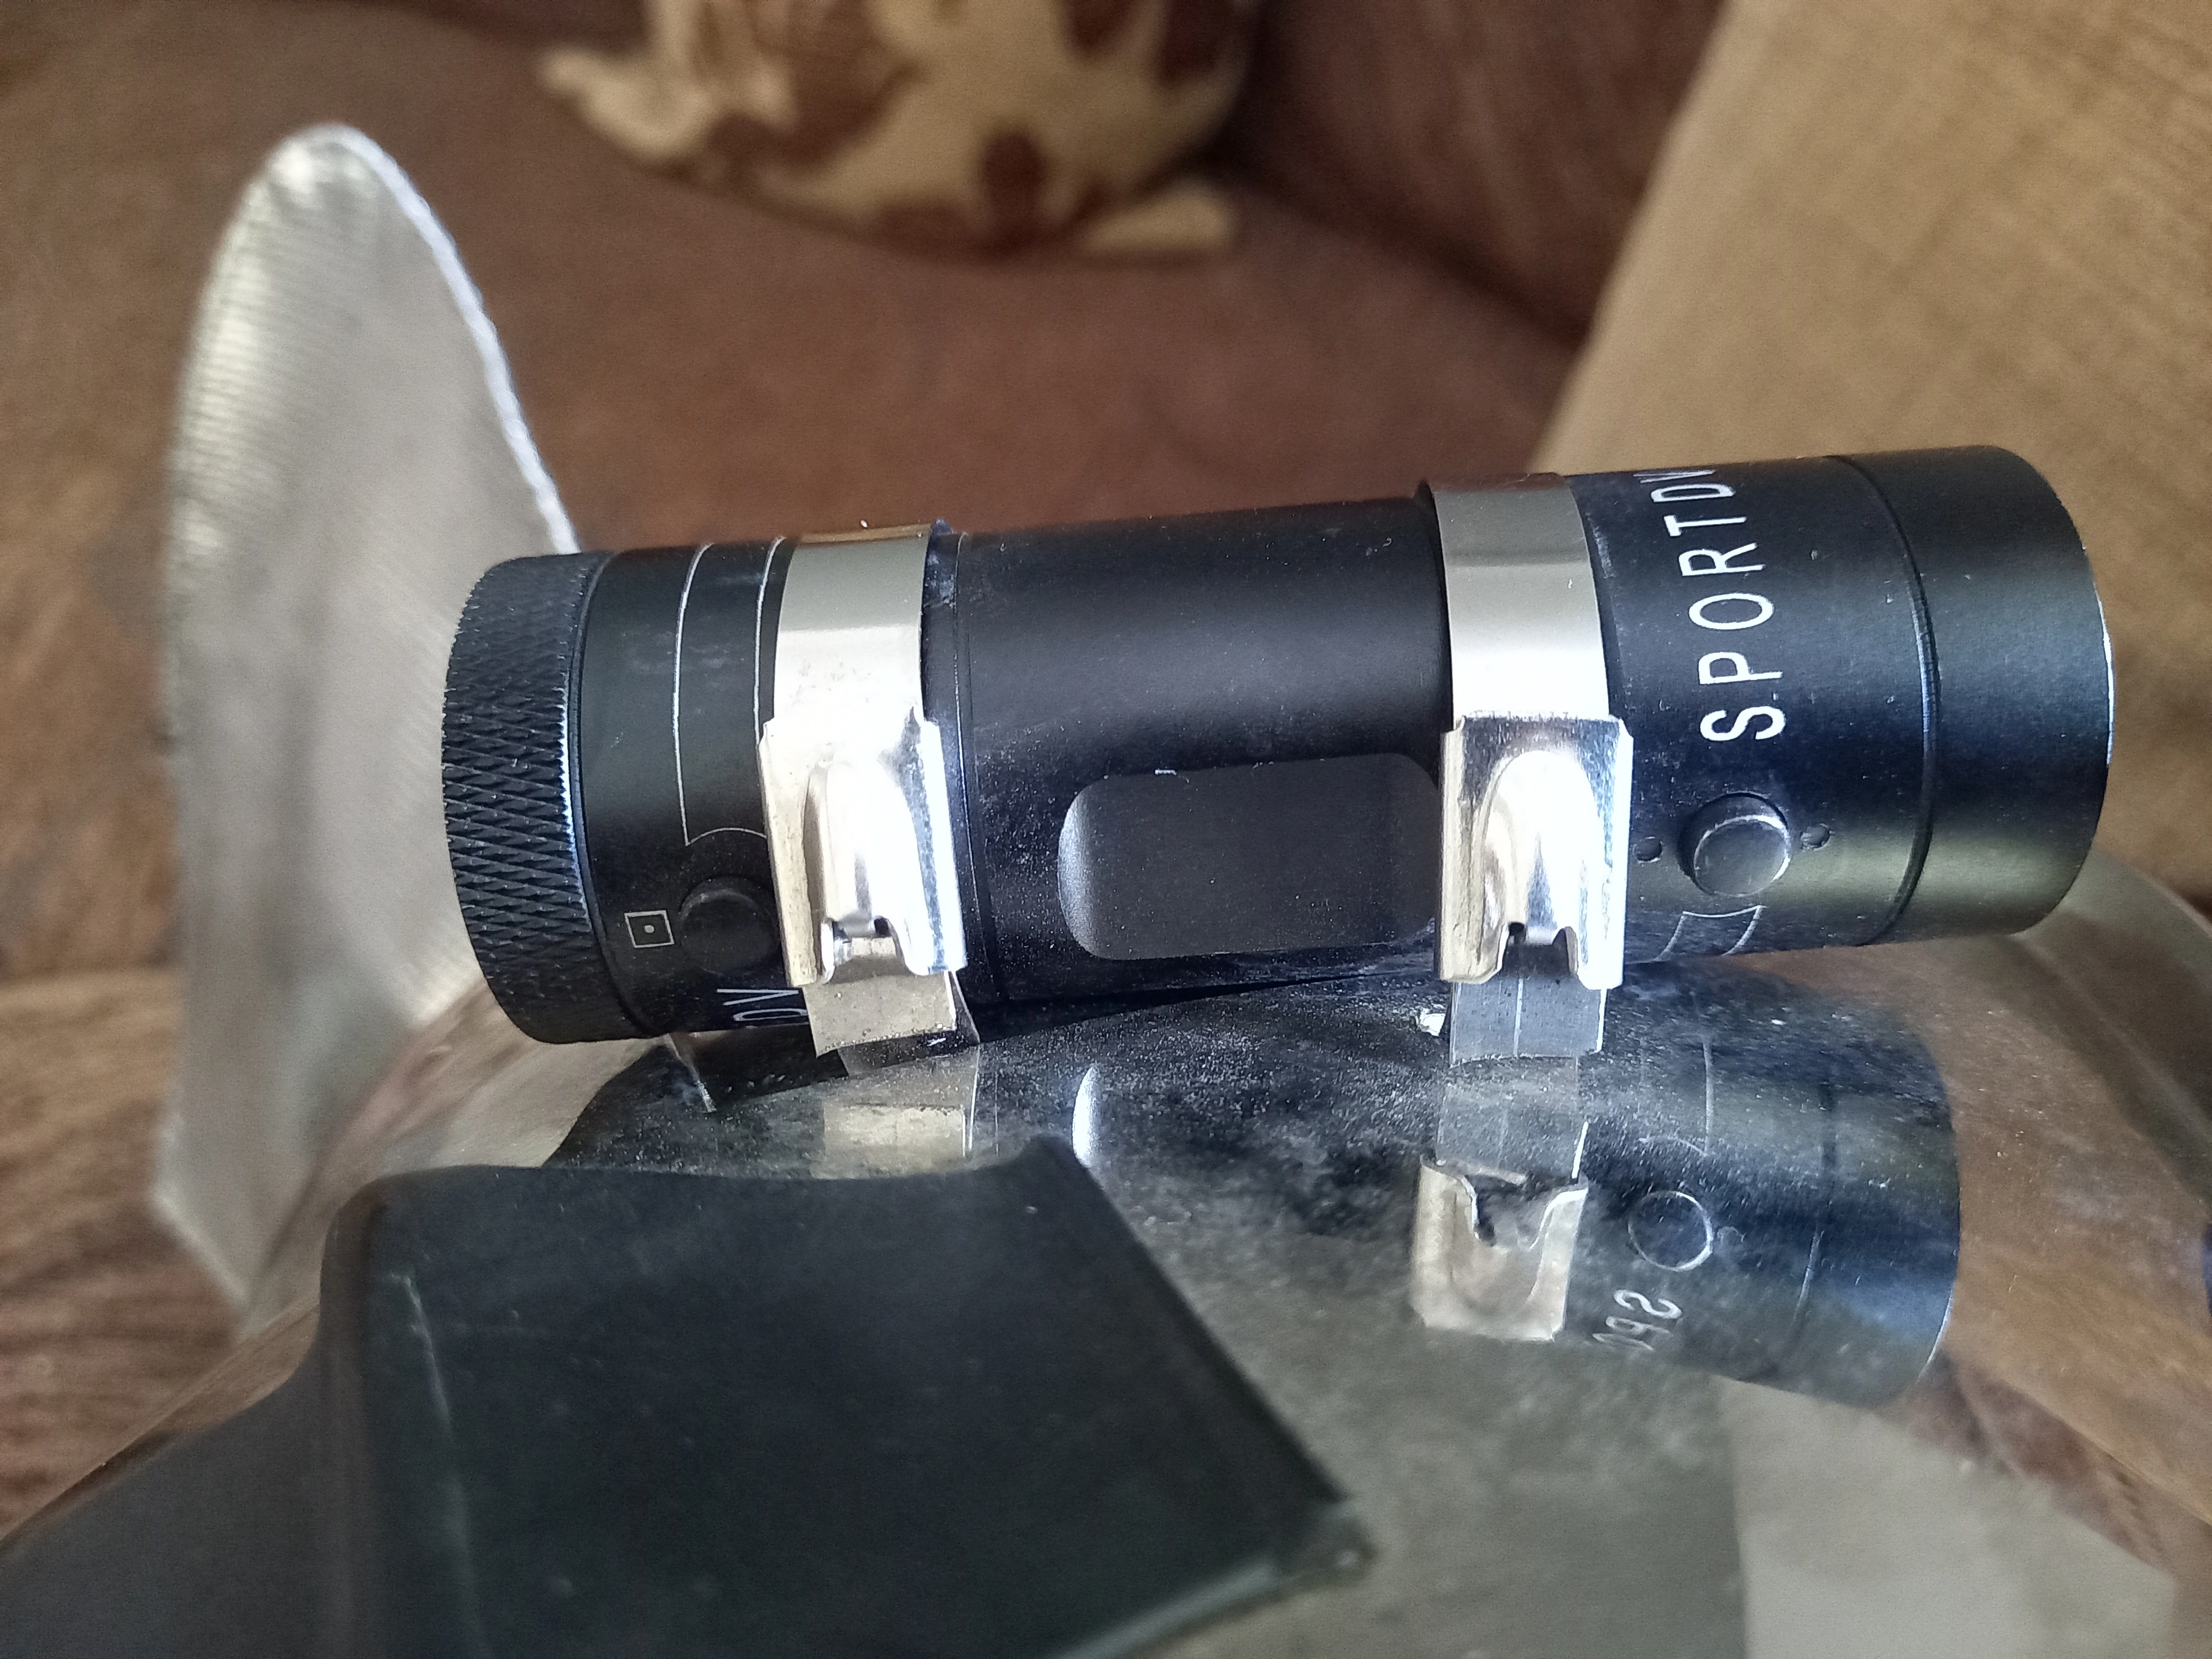
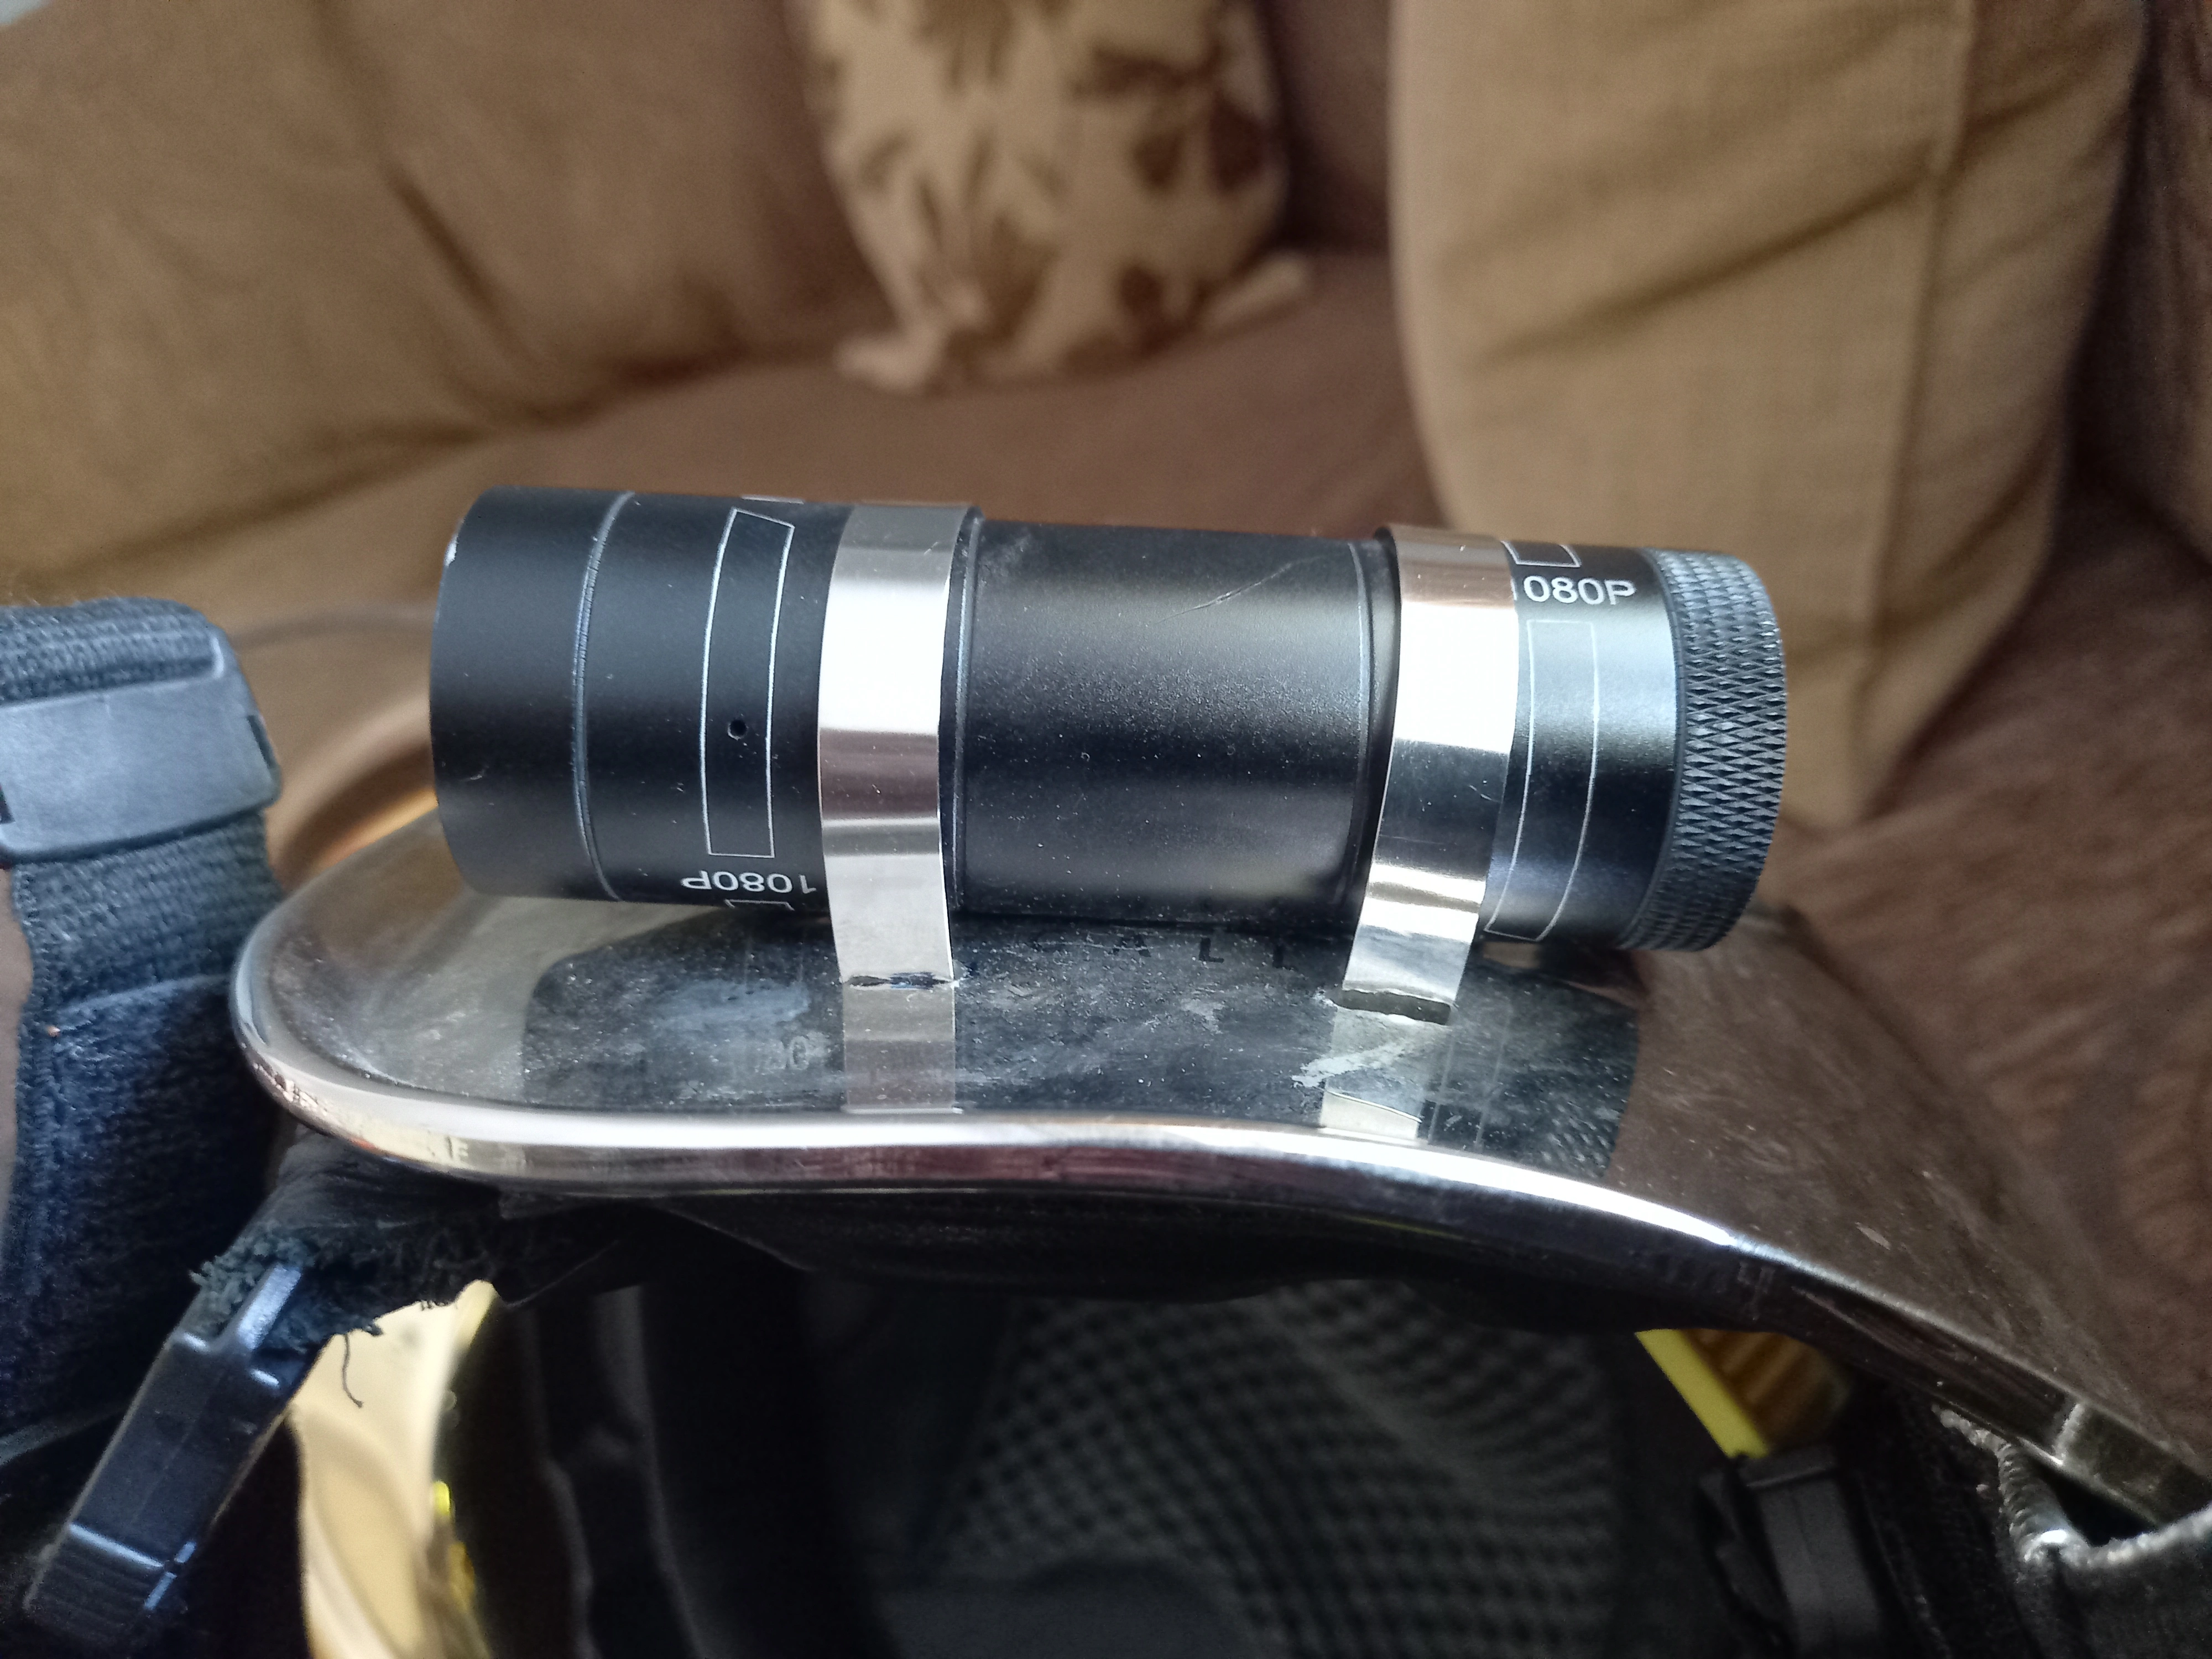
Camera: Sports DV Mini F9 DVR
Even though the first choices one would think of are GoPro or one of FireCam’s cameras, the reason I chose the Chinese, cheap and mediocre Sports DV Mini F9 DVR, is because I do not want to worry about it being destroyed during a call. This particular camera of course lacks in video quality when compared with GoPro or similar cameras, but it costs around 35€ and, as shown in the video above, the quality is acceptable.
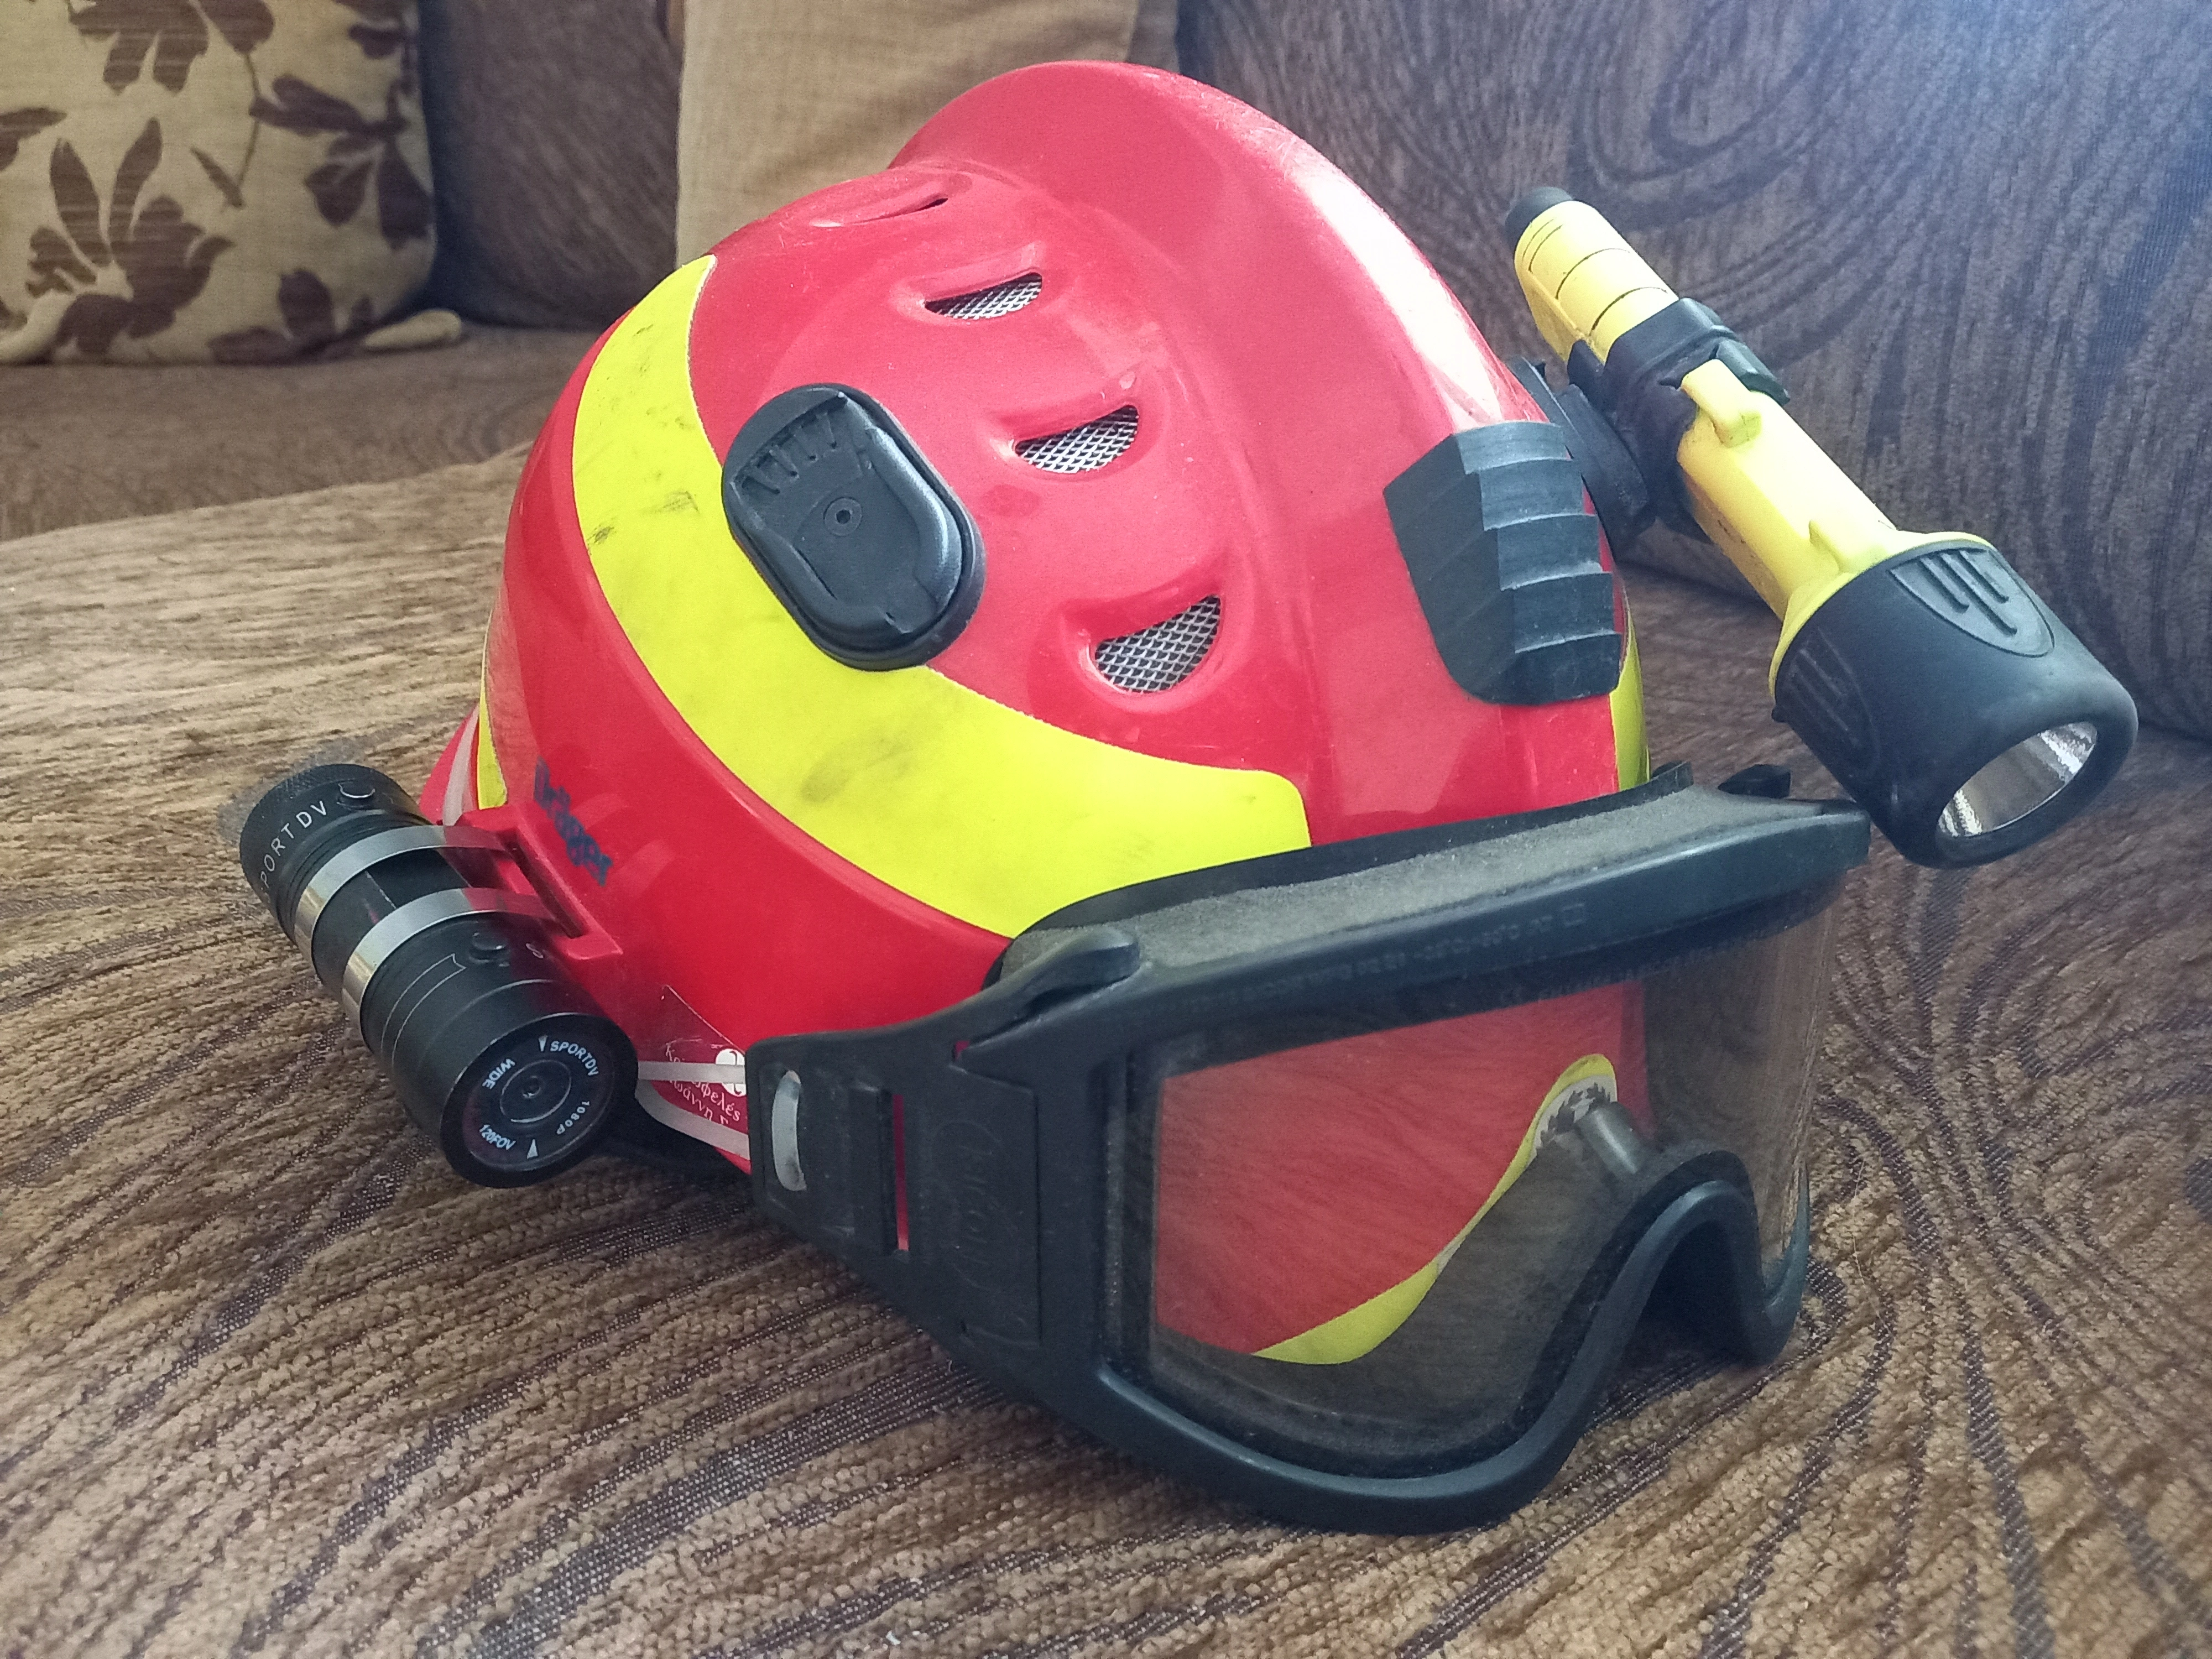
One more benefit of this camera is that it is small and has a flashlight shape, so it does not stick out, and does not attract attention either.
I do not think it is worth going into setting up and configuring it, since this information can be found in its manual. However, if you think you need help, feel free to contact me.
Note: I am pretty sure nowadays there are better cameras in the market for the same amount of money, so do your research first!

Zip ties
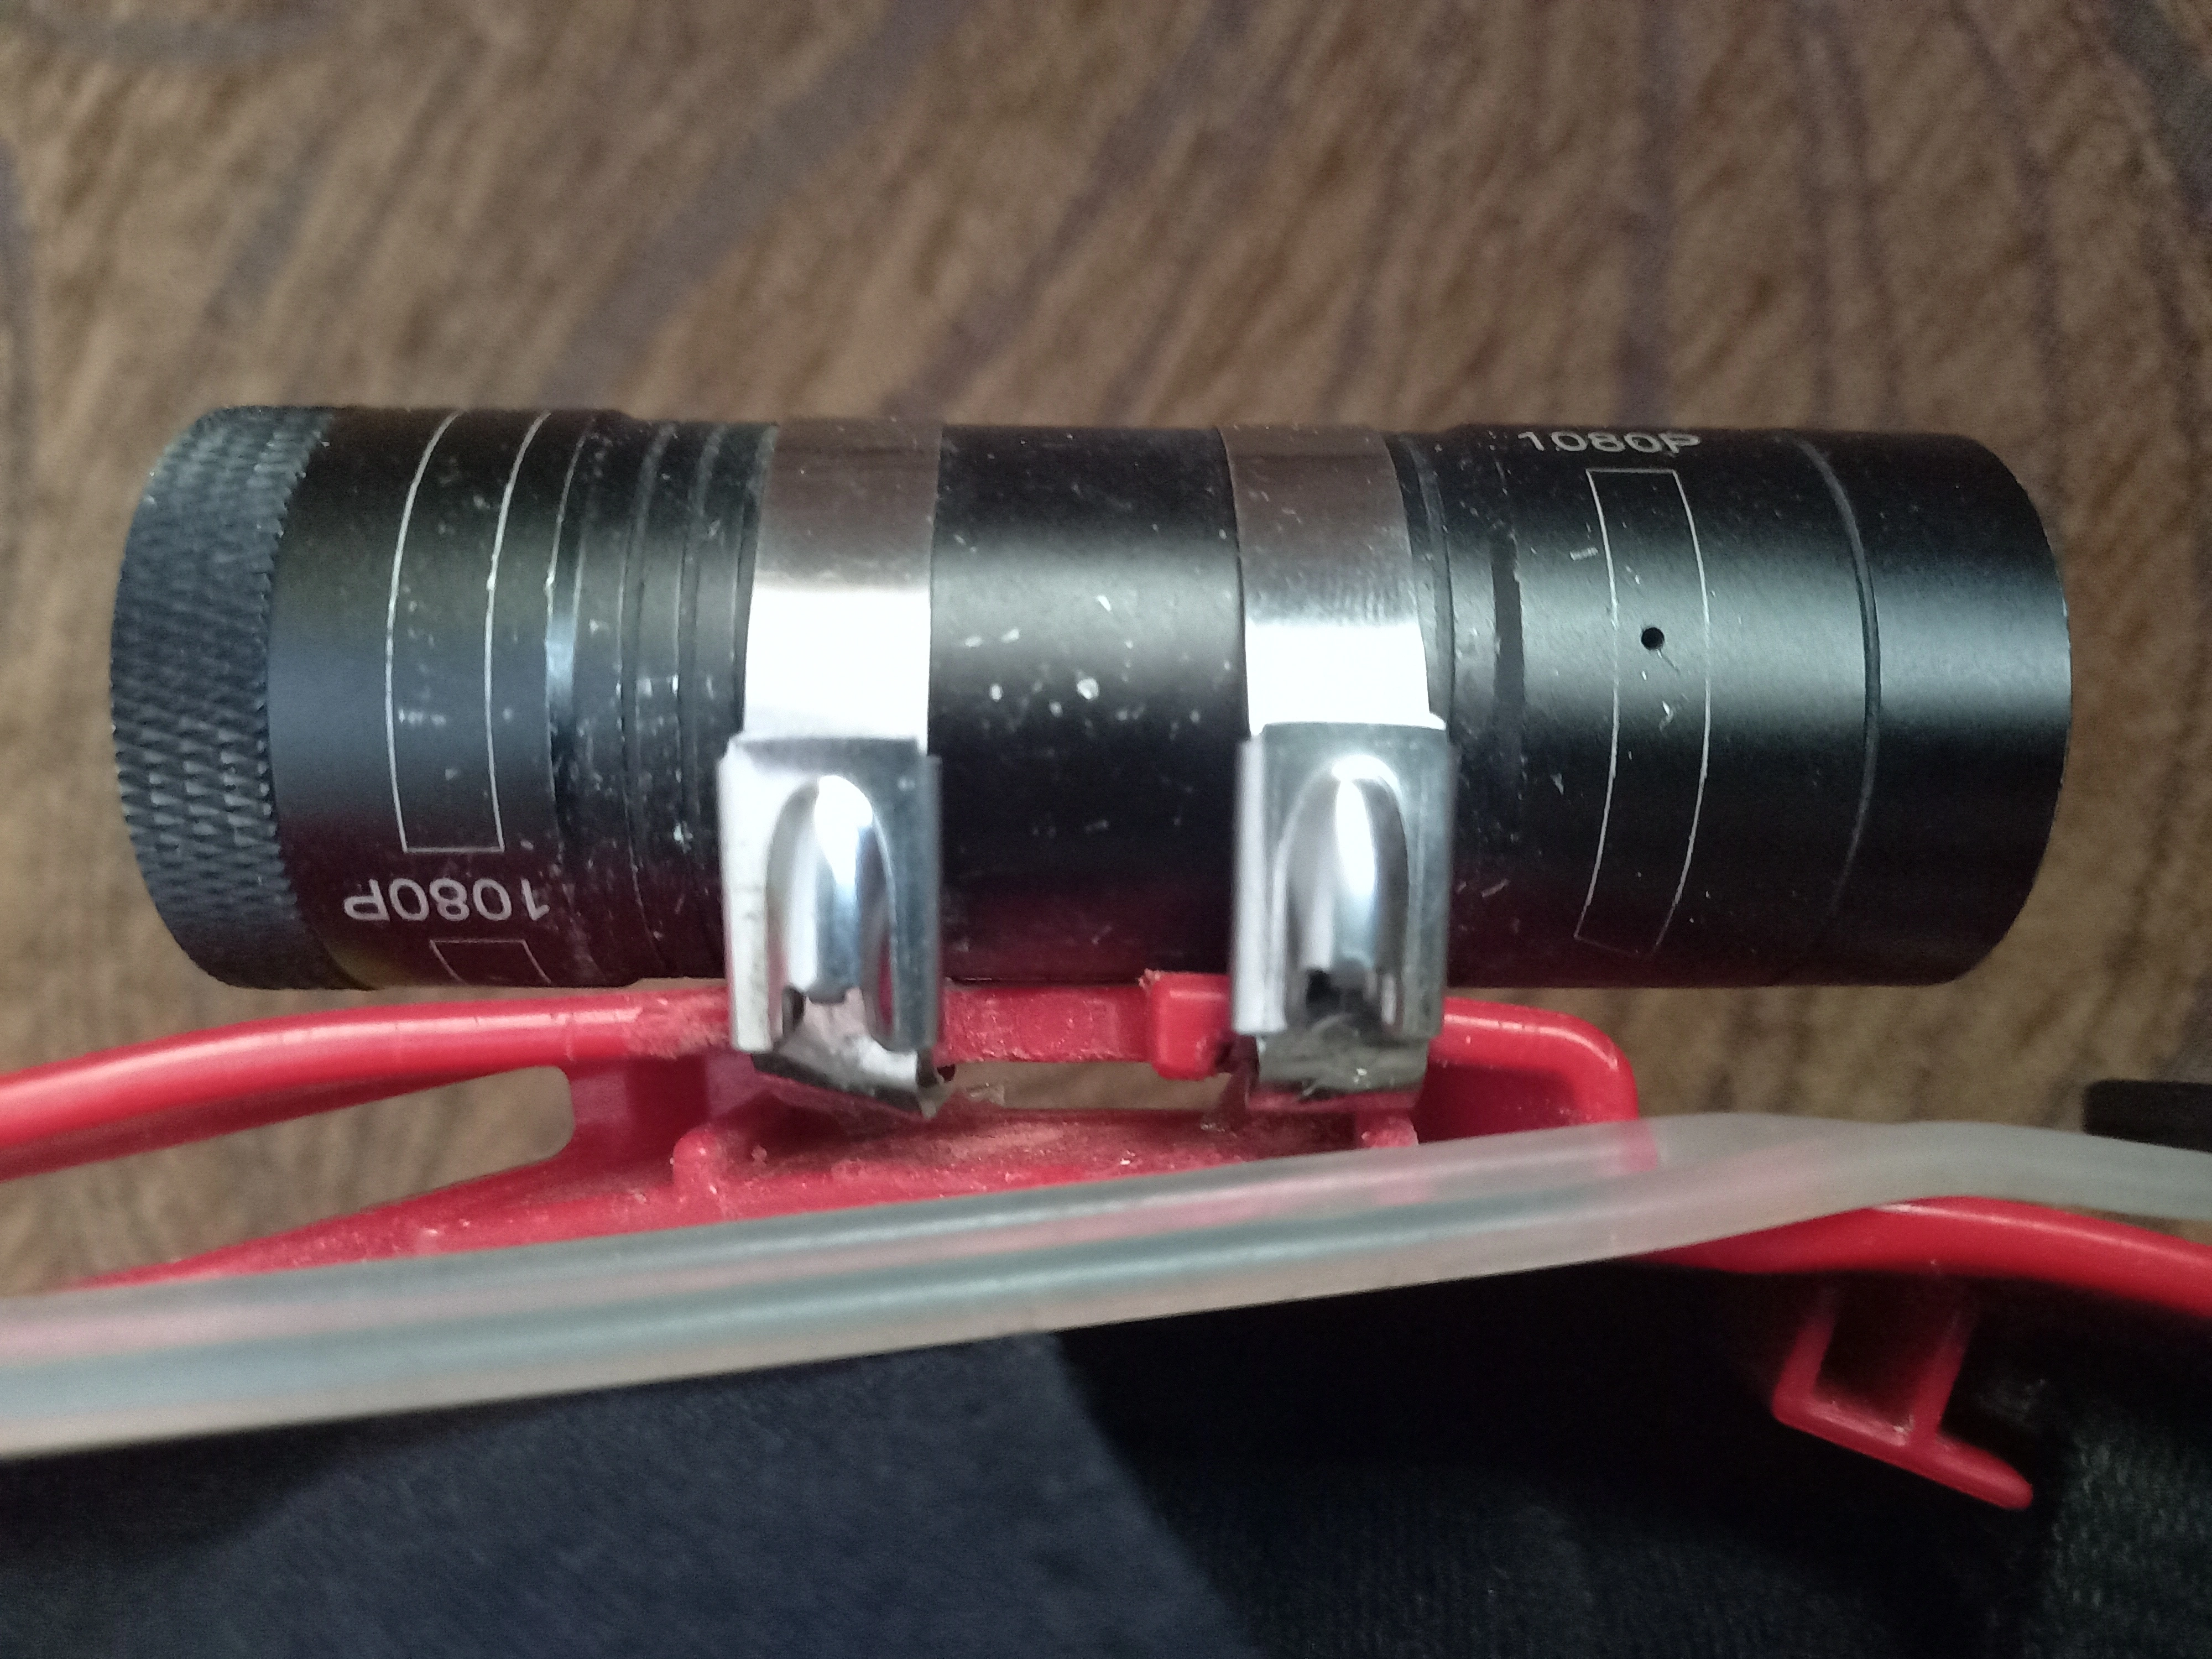
Mounting was done using metal zip ties.
The reason for choosing metal zip ties instead of a regular camera mount is that, it is hard/impossible to find an appropriate mount for the helmets and camera I have (unless you get a custom-made one with the right materials), but the zip ties are also expendable, durable, cheaper, and take no space.
Regarding why I did not choose cable ties, apart from the greater robustness of metal zip ties compared with cable ties, metal zip ties are also made from stainless steel, and among other benefits, have a -60 to +300°C temperature range. On the contrary, regular cable ties have a -40 to +80°C temperature range, which is definitely not ideal for use in fire conditions.

During and after application to the helmets, pay attention to the following:
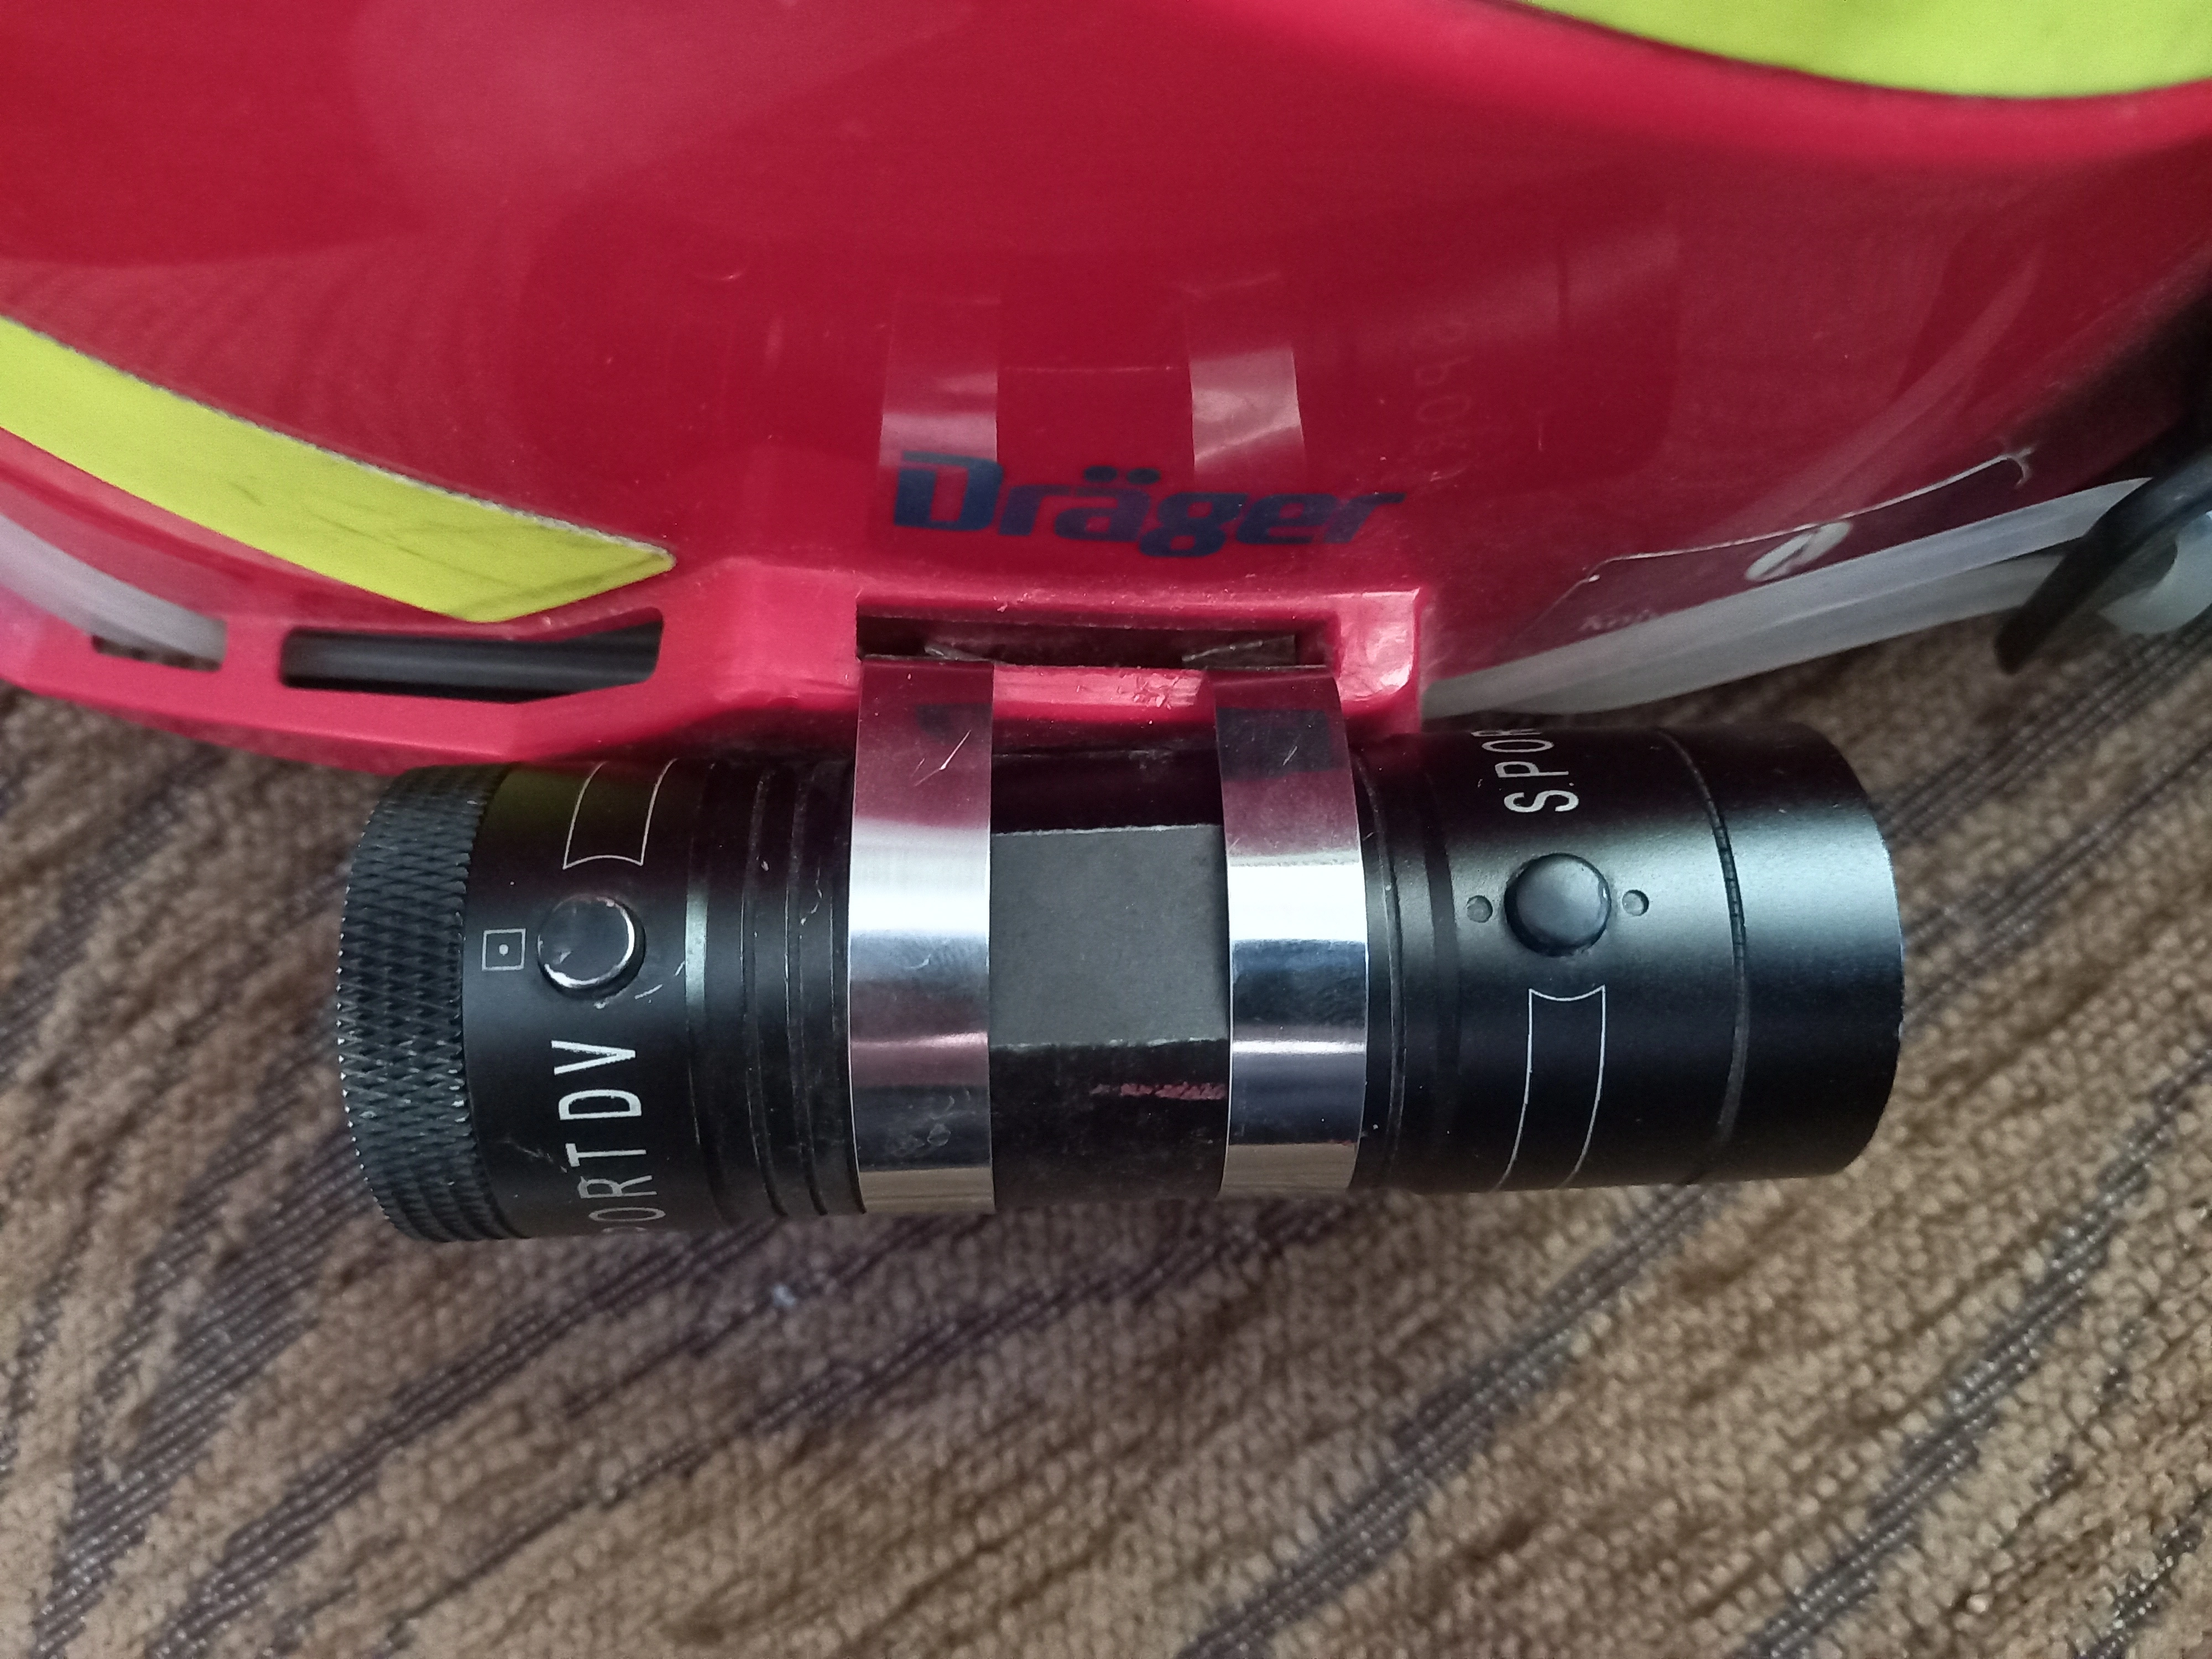
- Make sure that they stand between the camera’s 2 buttons and they are tight, so that the camera cannot escape the helmet. Depending on how tight they will be, the camera might not be able to be taken off the helmet at all, unless the zip ties are cut. However, I believe this is not really a problem, because zip tie packages usually contain many pieces, so you can just put on new ones. Definitely better than losing the camera during a call.
- Once the zip ties are tightened, cut what is left and smoothen the edges.
- Due to the smooth surface of the zip ties, the camera might rotate, so before using it, make sure it is positioned properly, that is, with the buttons facing upwards.
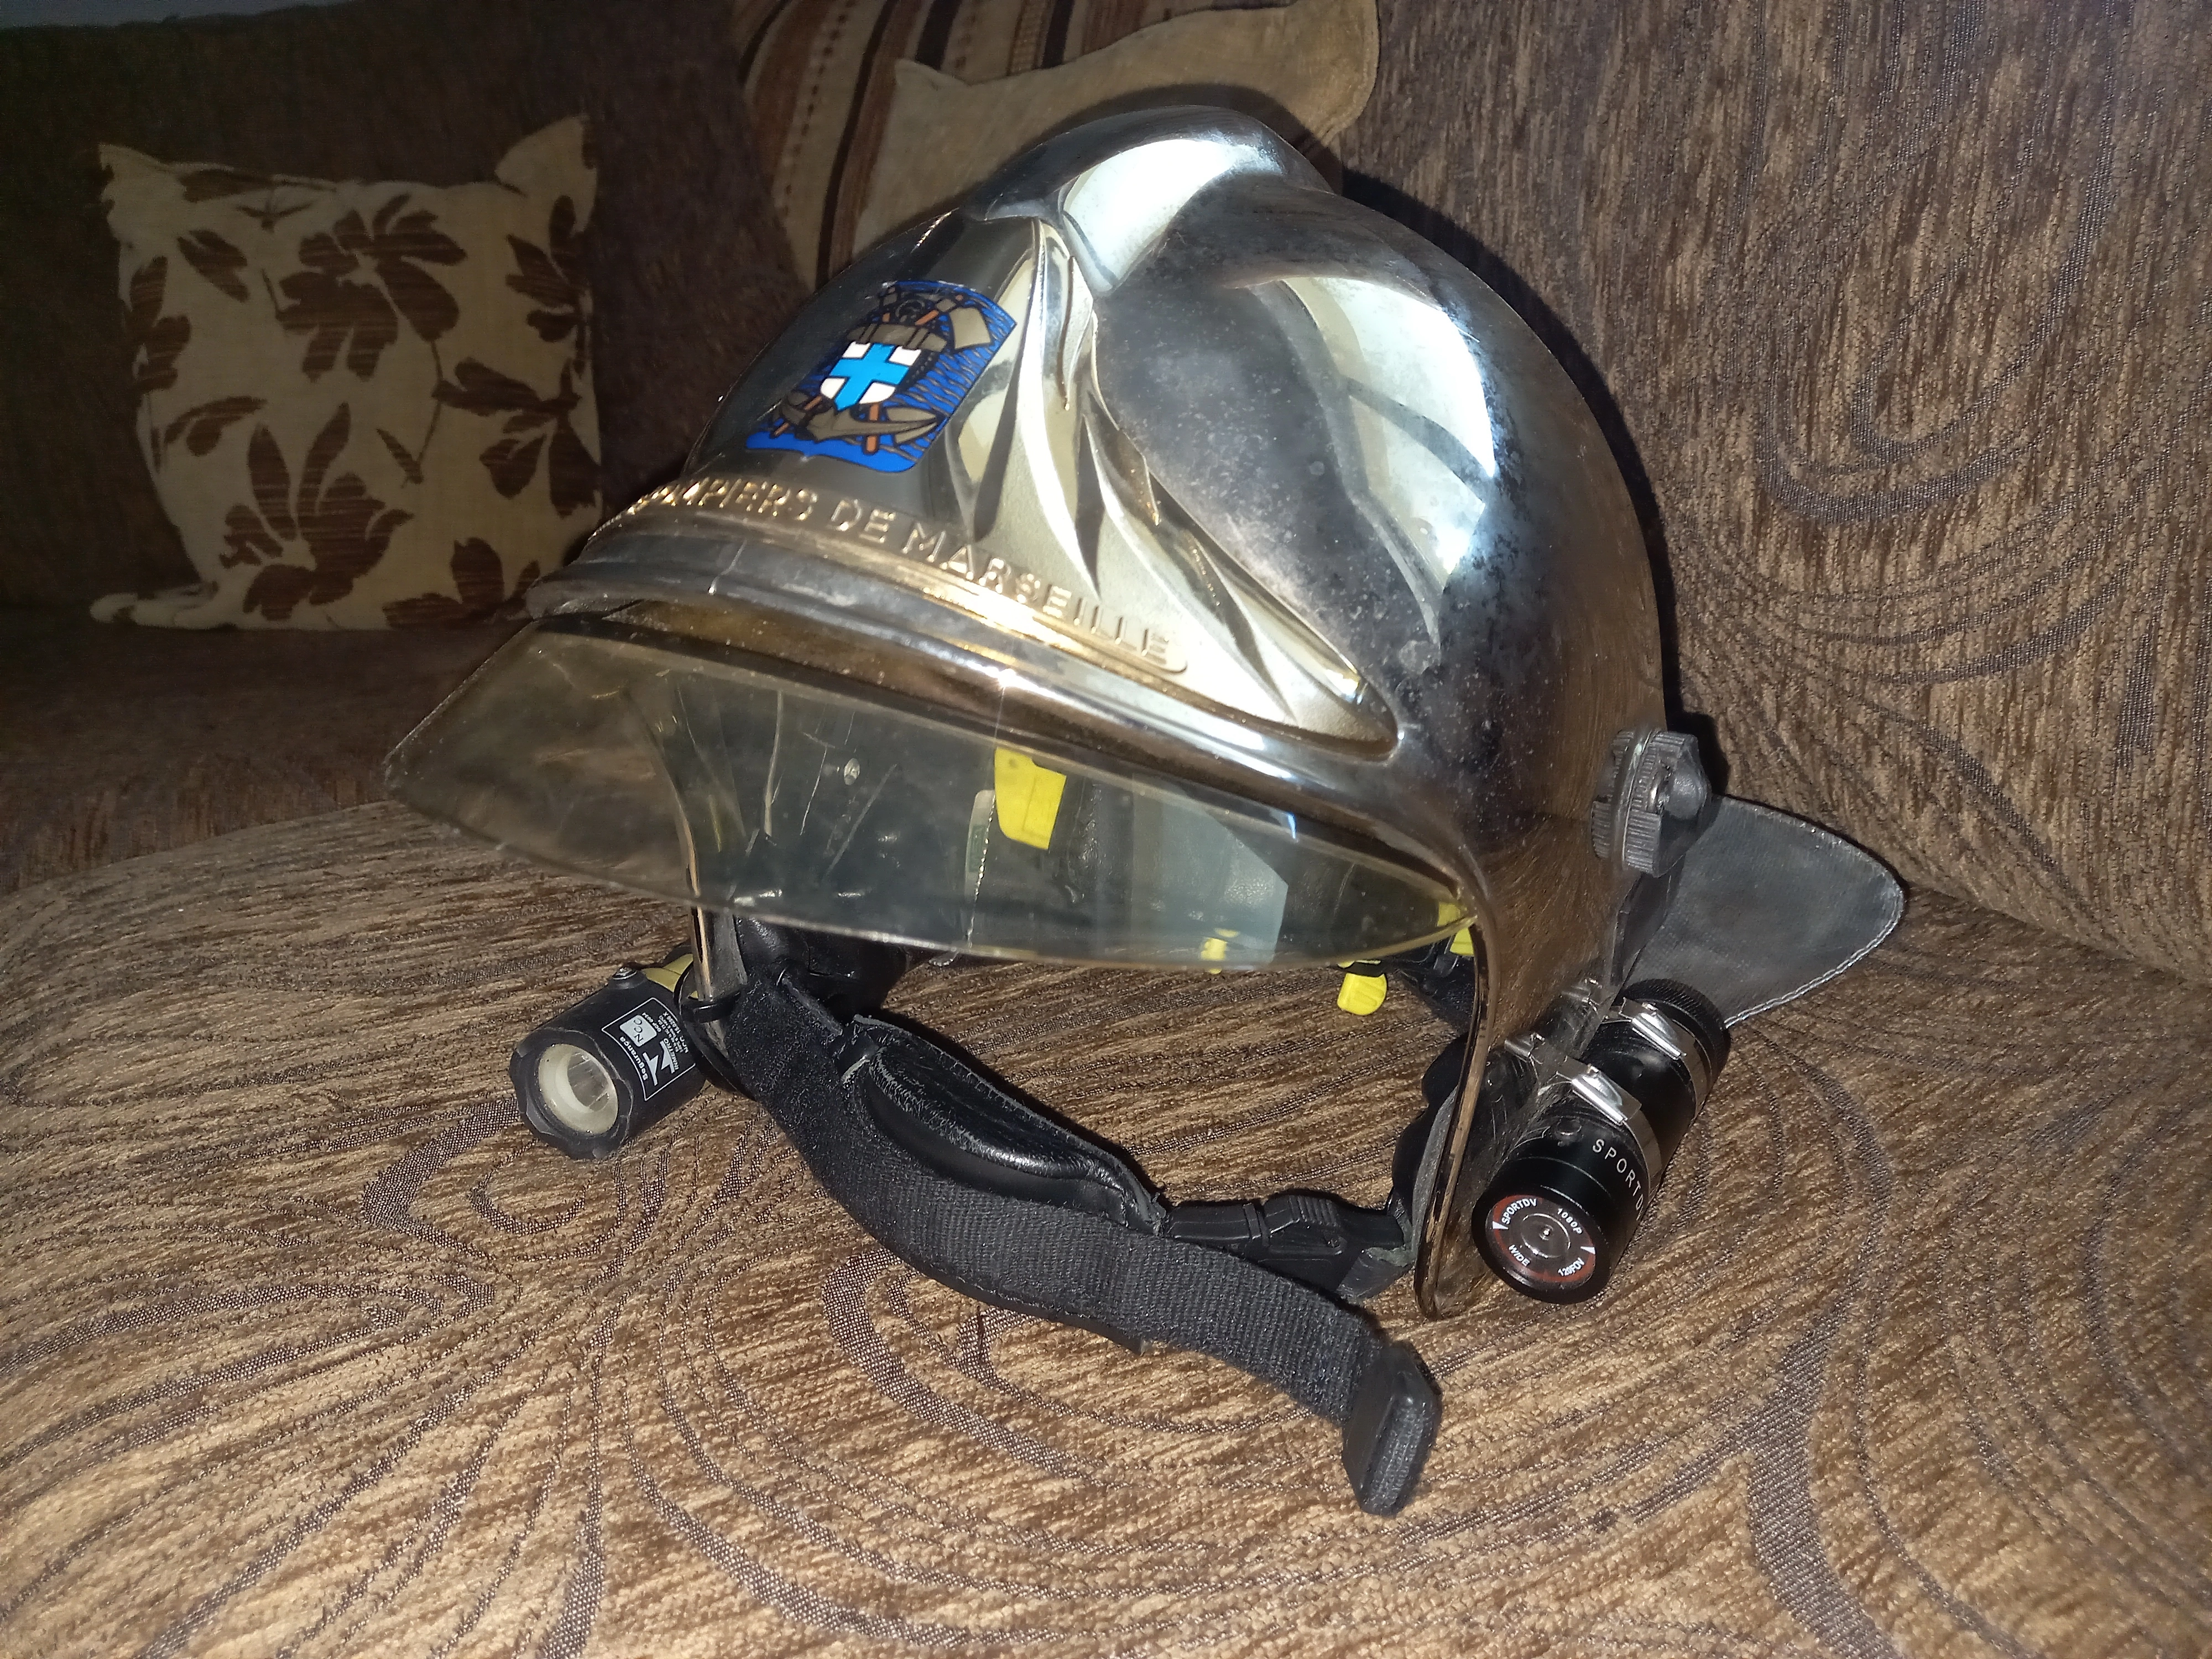
MSA Gallet F1S14 mount
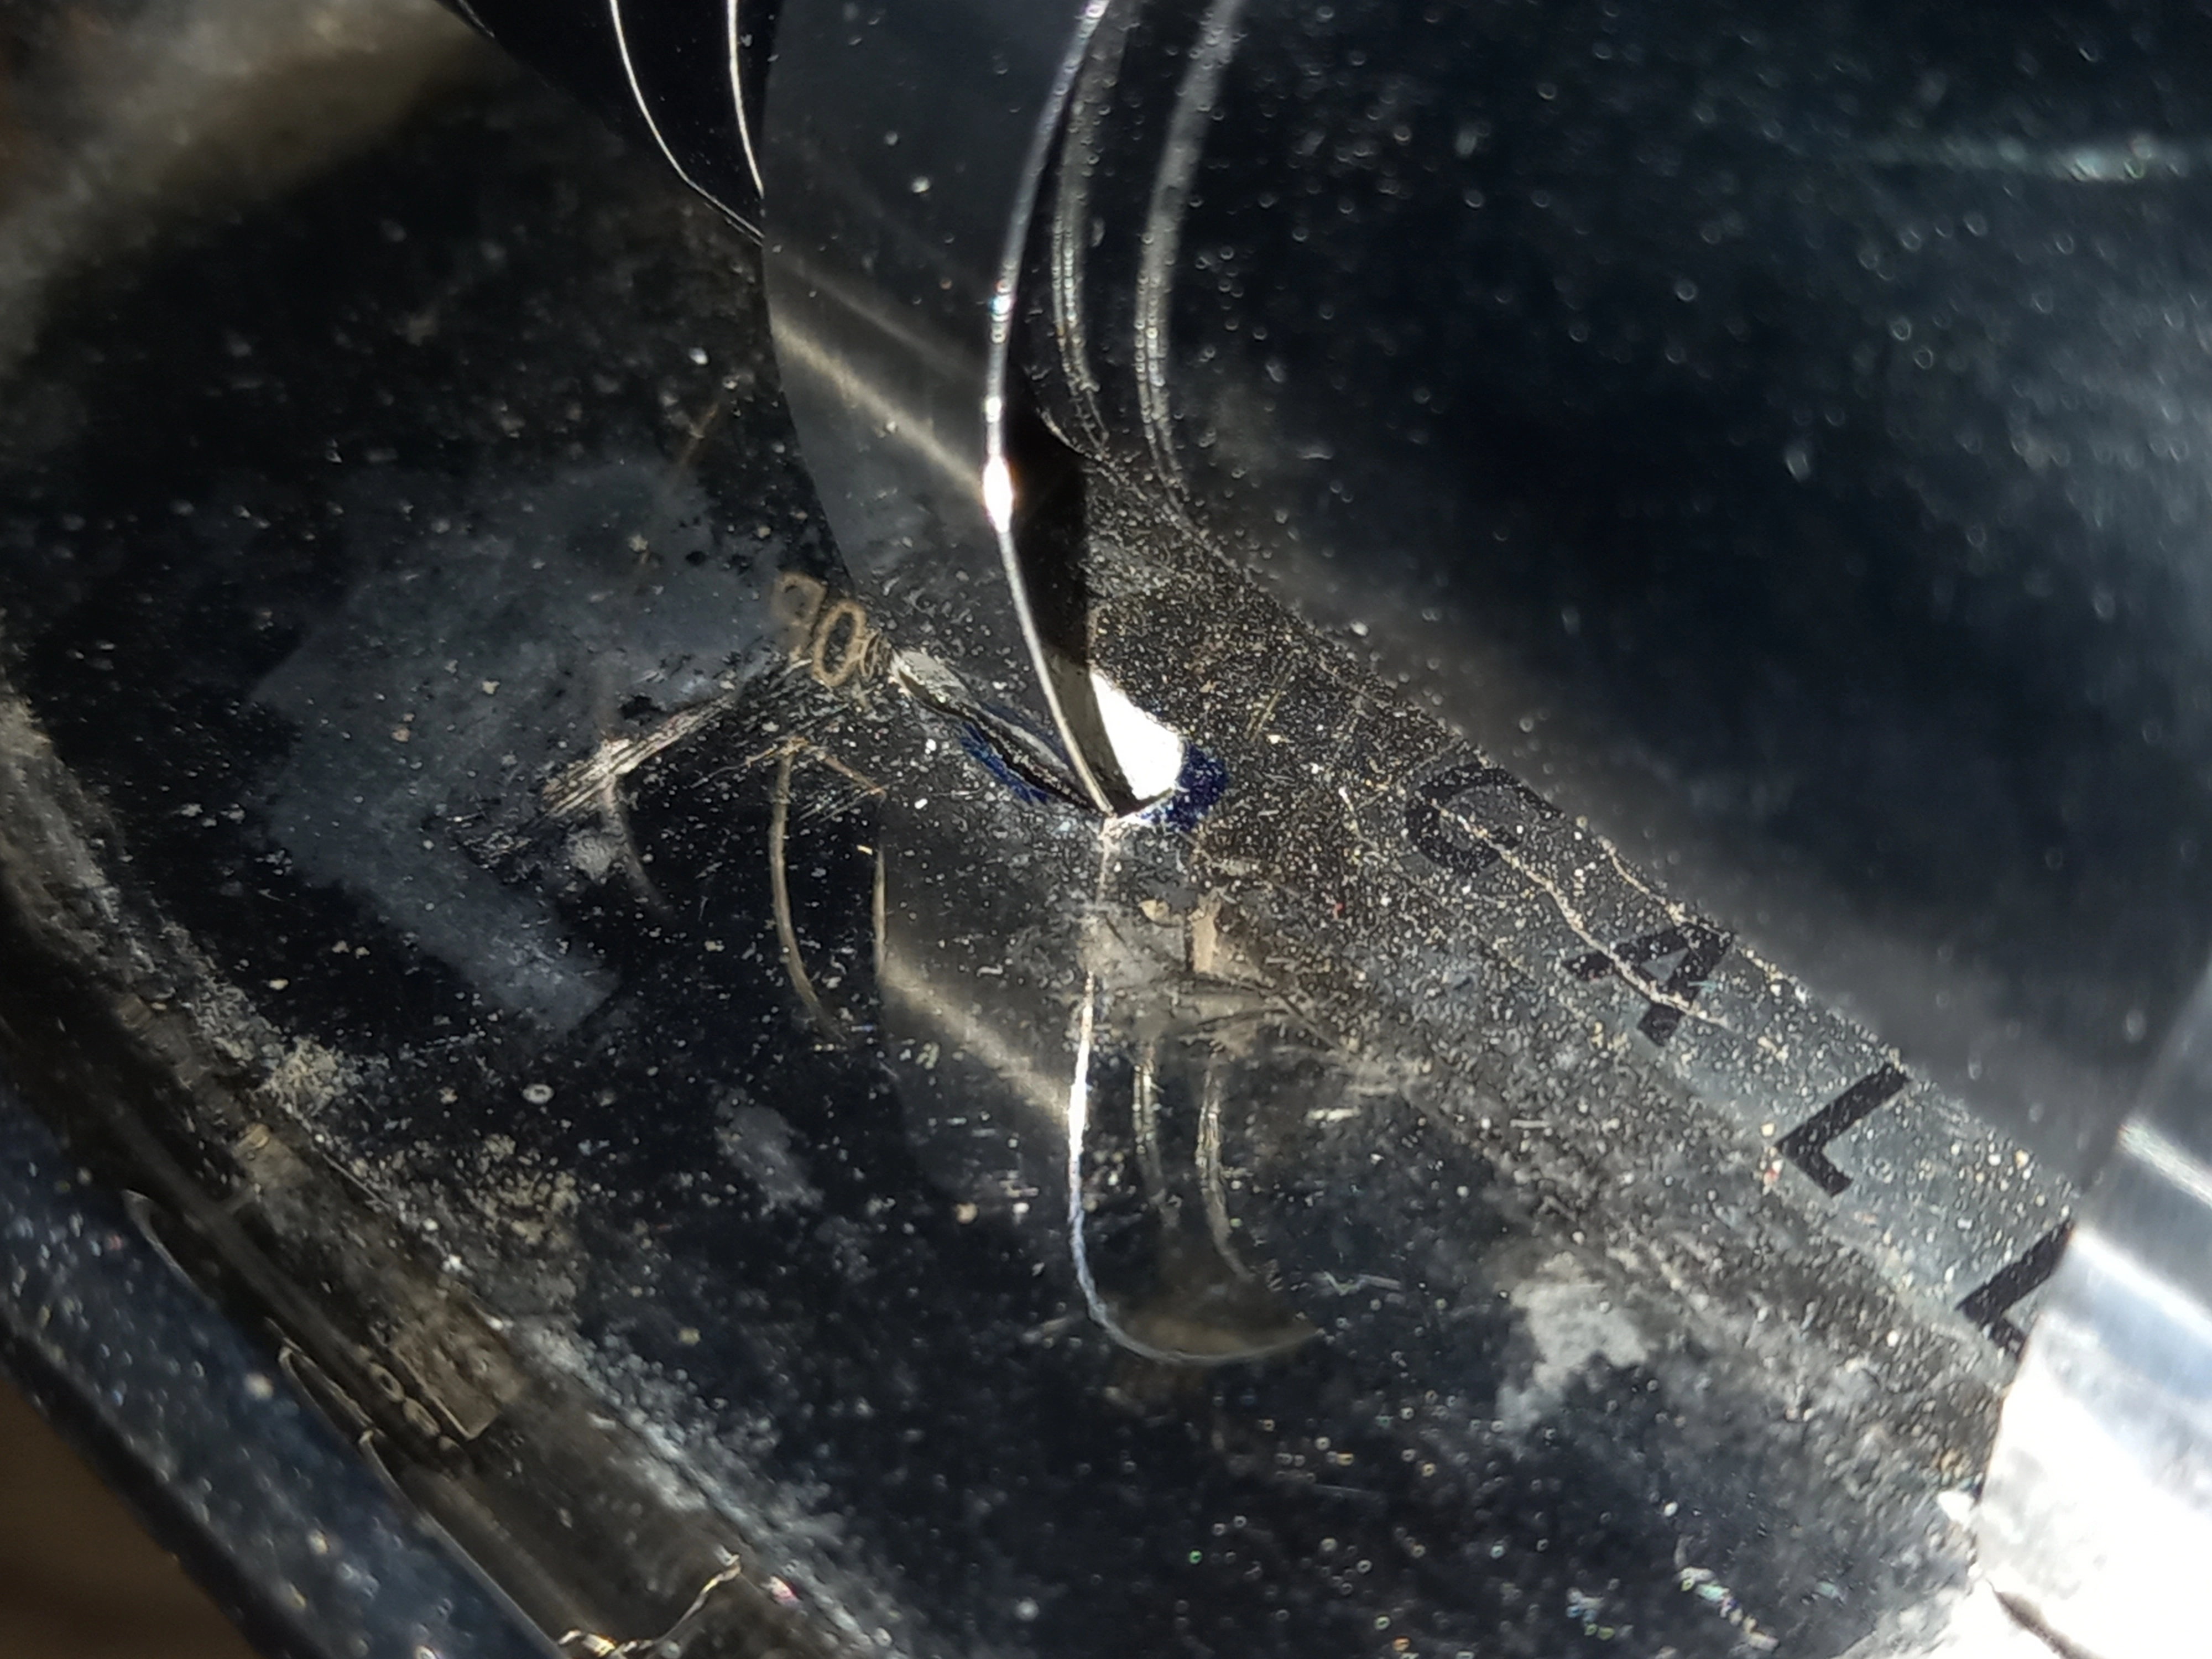
This particular helmet, unfortunately, does not offer any ideal place for mounting cameras, so we will have to drill holes on the side. For greater safety, but also stability of the zip ties, the holes must have a size just enough for the zip ties to go through. Of course, you will have to calculate the hole positions carefully, so that the camera is stable. For the drilling I used a drill and a file.
With this approach there are two problems:
- The first and obvious one, we need to drill holes, in other words, modify the helmet. That being said, this has proven to not be problematic, even in very high temperatures in confined spaces.
- Due to the camera’s position, the field of view might be reduced in case you use a mask with filters. Perhaps the camera can be mounted at a higher position without problems.
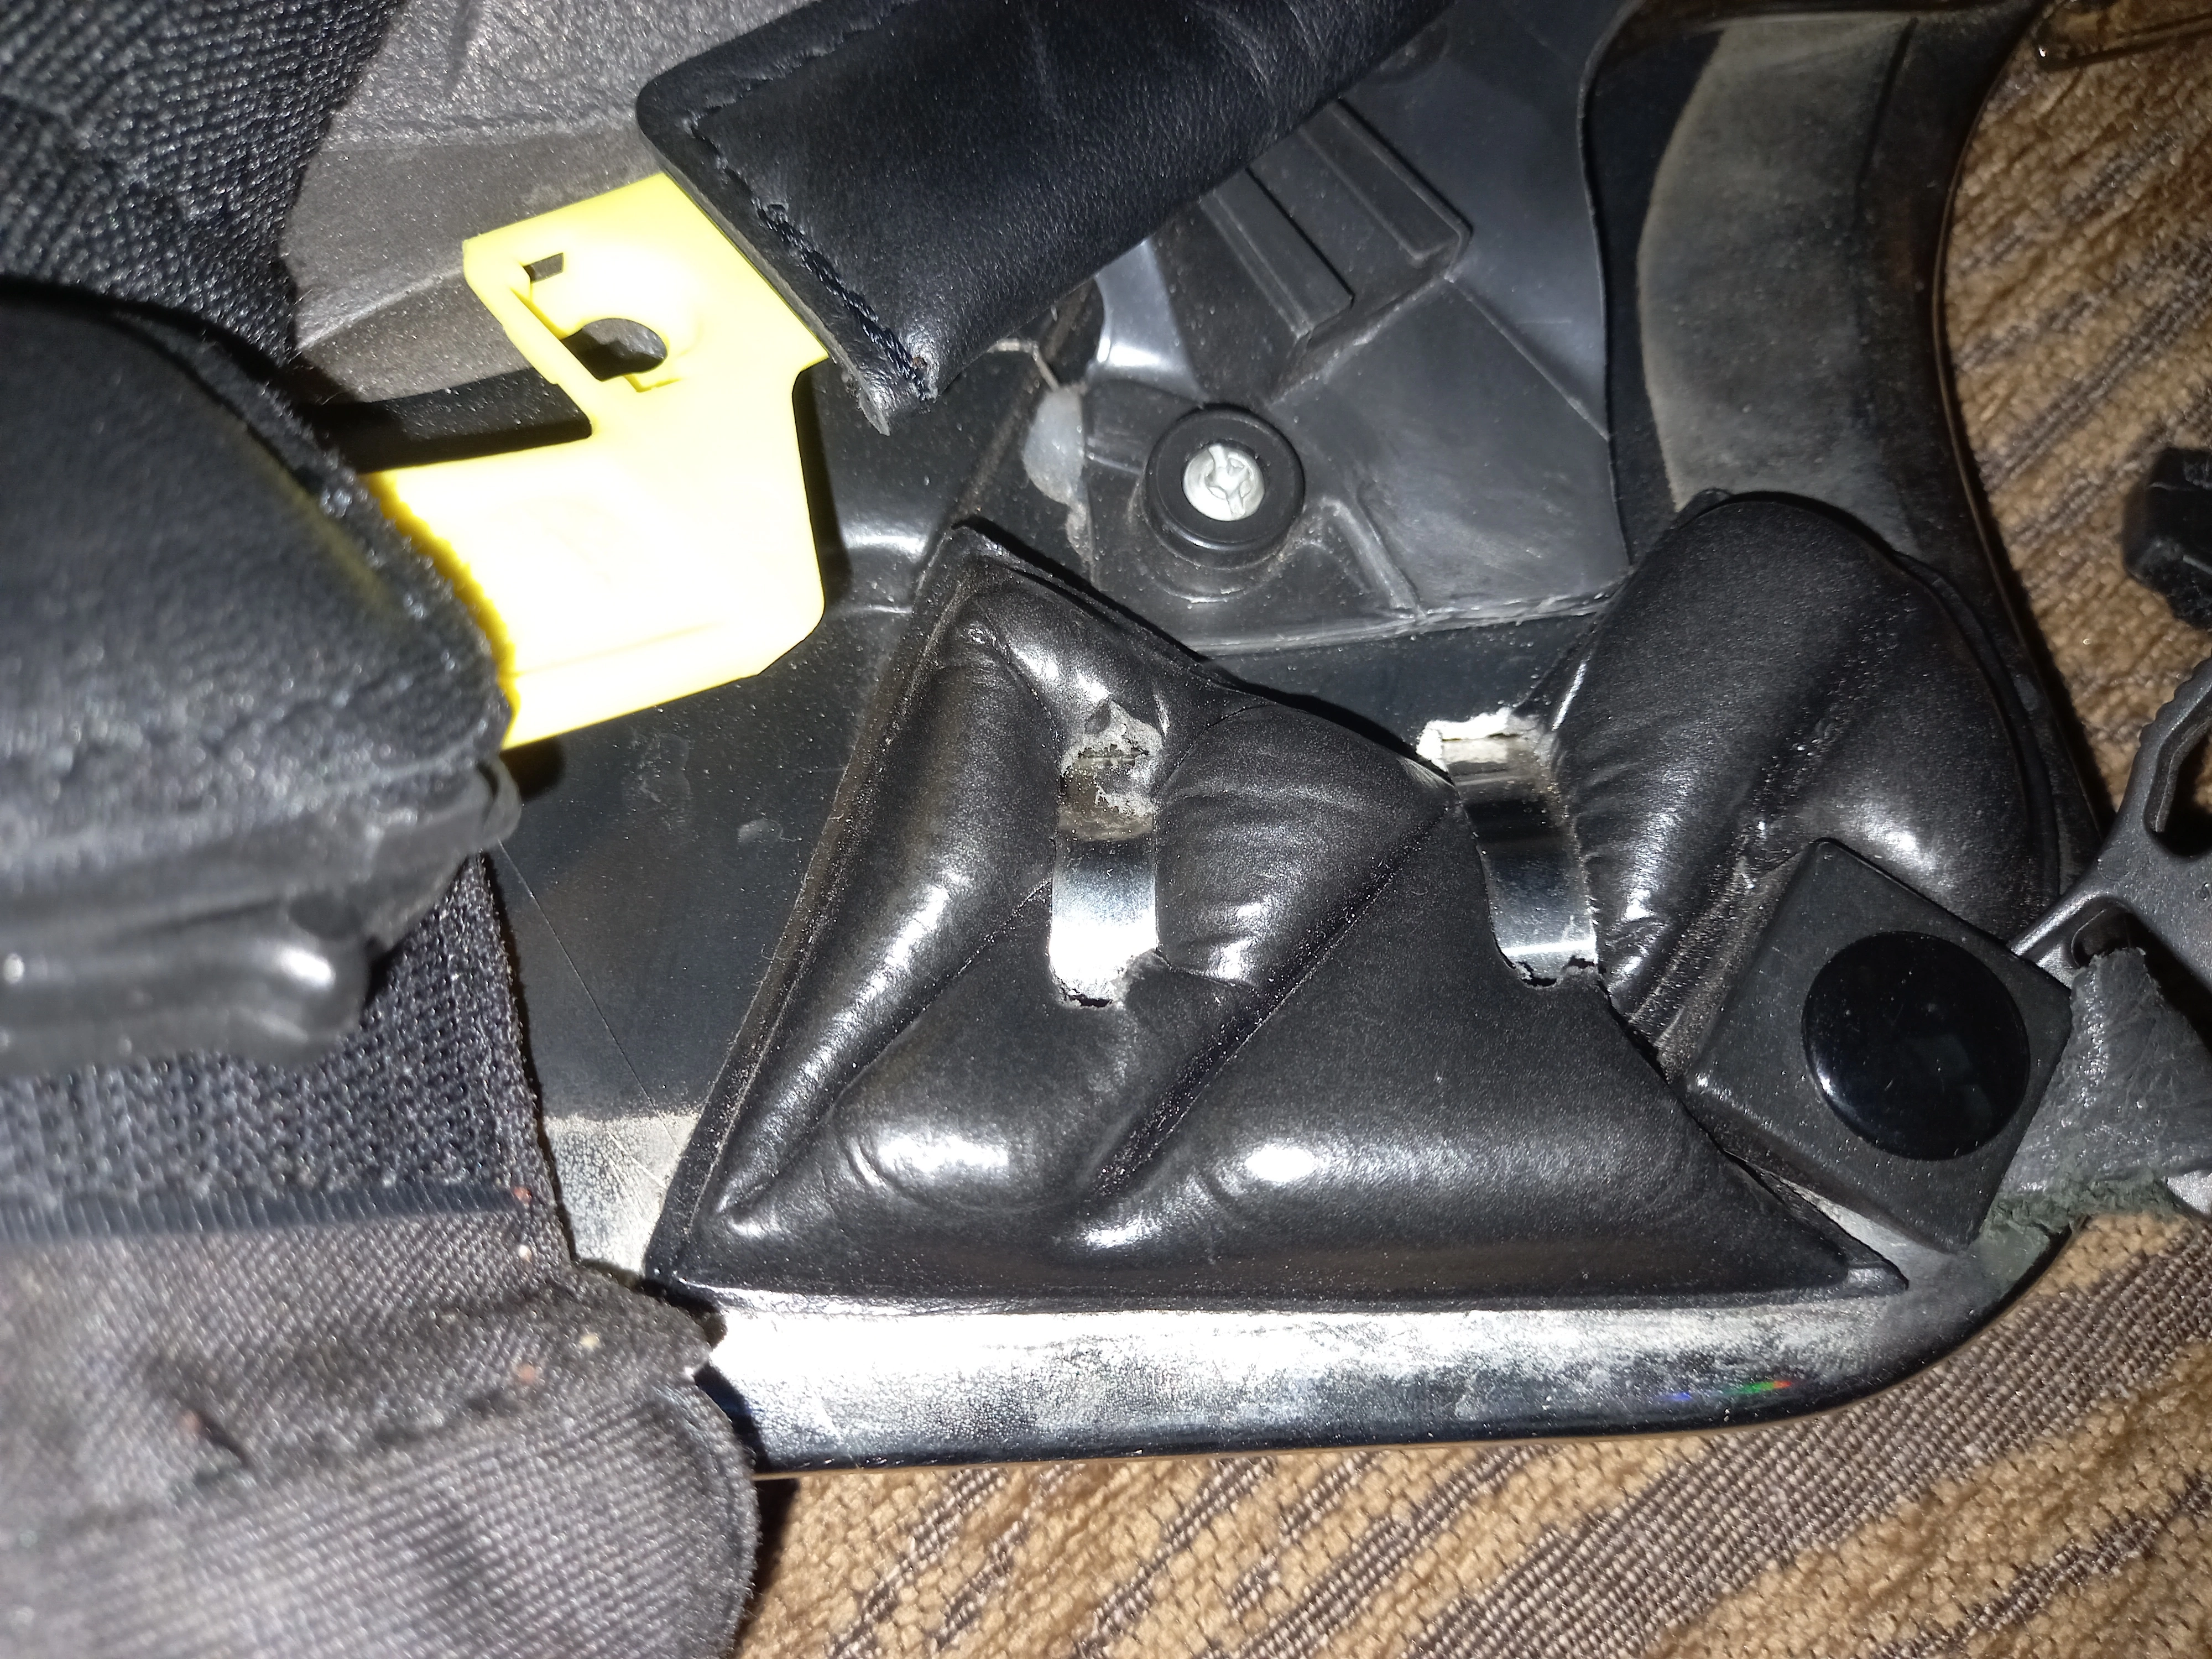
During application of the zip ties, make sure that their locking spot is on the helmet’s exterior (see plan view), so that there is no sharp surface on the interior.
Even though at first glance it might seem strange, the reason why the holes are drilled where the padding is (see interior view), is so that the zip ties are stable, since they are not completely flexible and there might be gaps at a different position. So to avoid risking drilling wrong holes, I chose to go with the “safe” option.
It goes without saying that any modification is done at your own risk!
Dräger HPS 3500 mount
With this helmet we can make use of the side sockets. I think 2 zip ties are enough and it is best for them to be placed at the 2 edges of the socket, because there are recesses on the interior which can offer greater stability.
The only small issue is that the zip ties can move, without this meaning the camera will escape. It is good, however, to always have them placed at the edges.